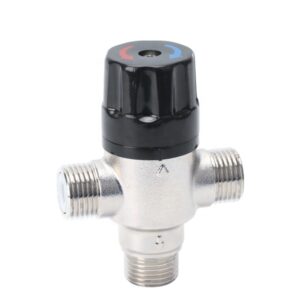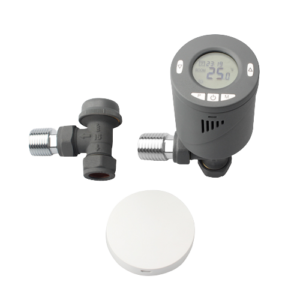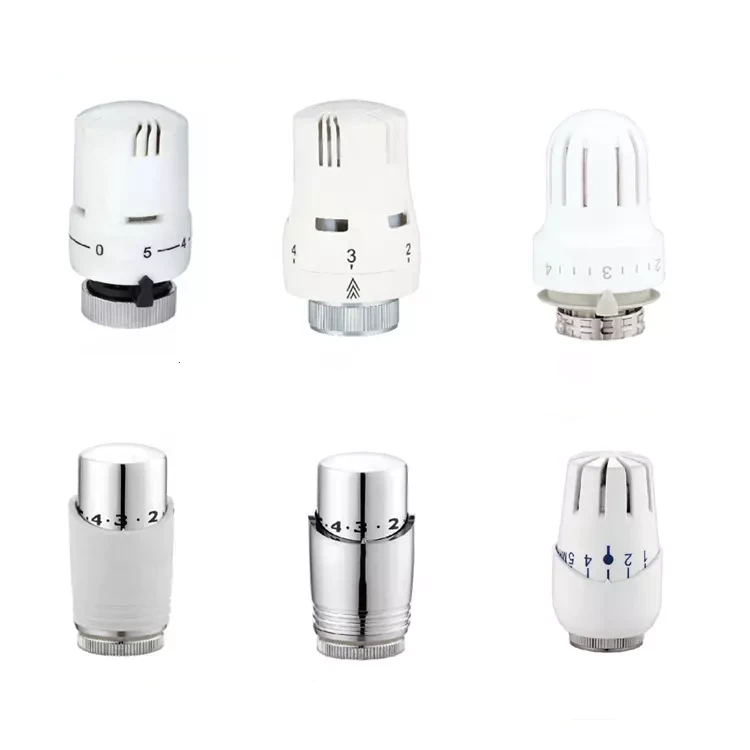
Description
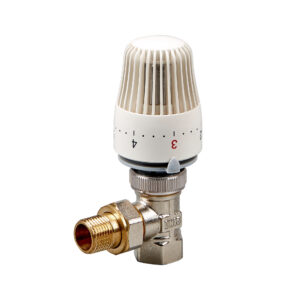
Thermostatic Head Thermostat for towel rail radiator
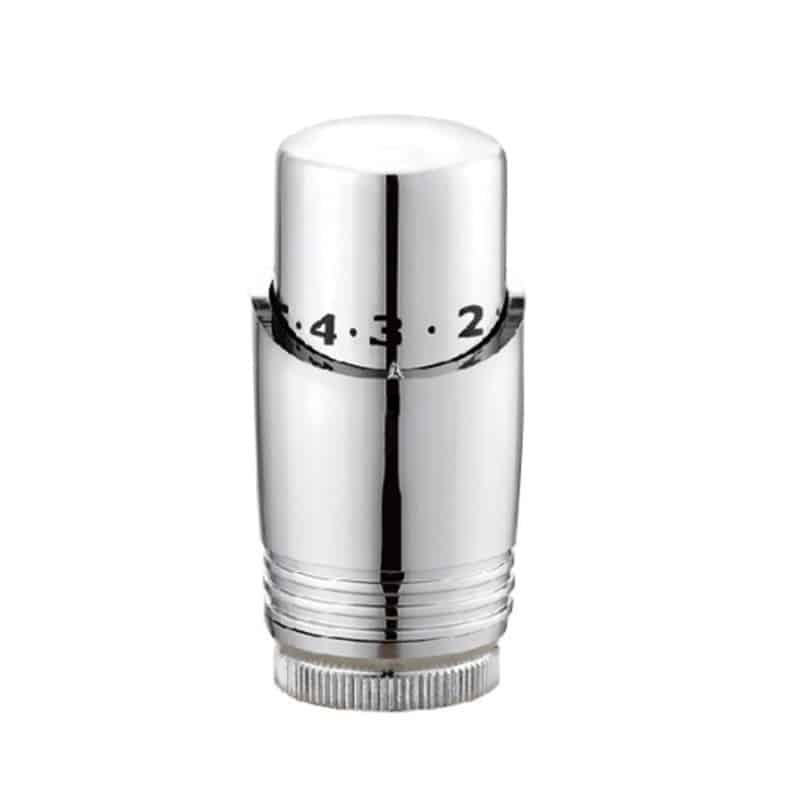
JX-0653
- Thermostatic Radiator Valve
- Size 1/2″,3/4″
- Full brass with nickel-plated
- Made from forged brass
- Field of Application: Water
- Media: Water
- Structure: Control
- DN15/20/25 available
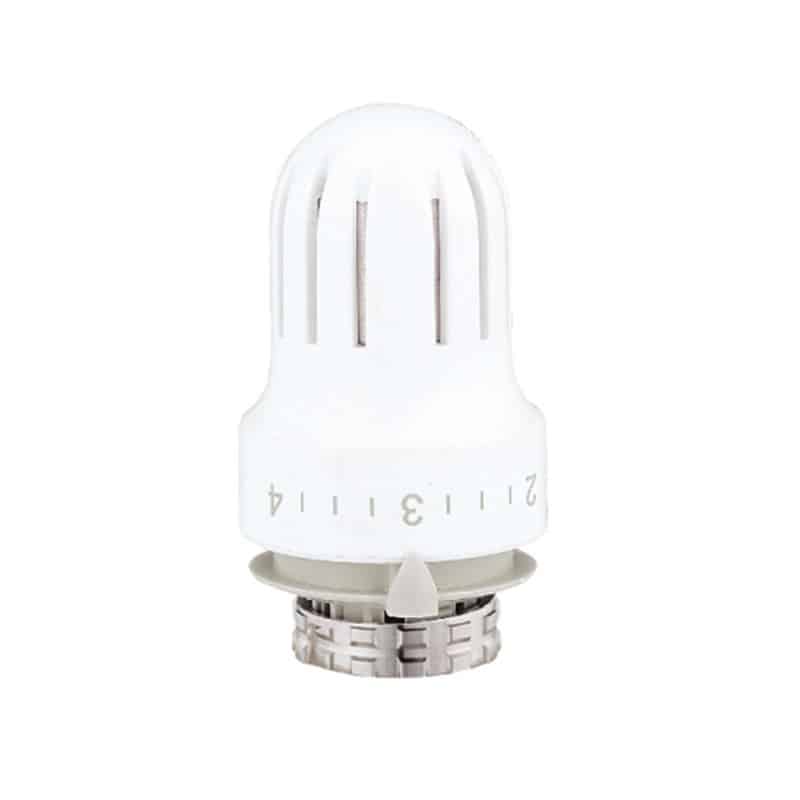
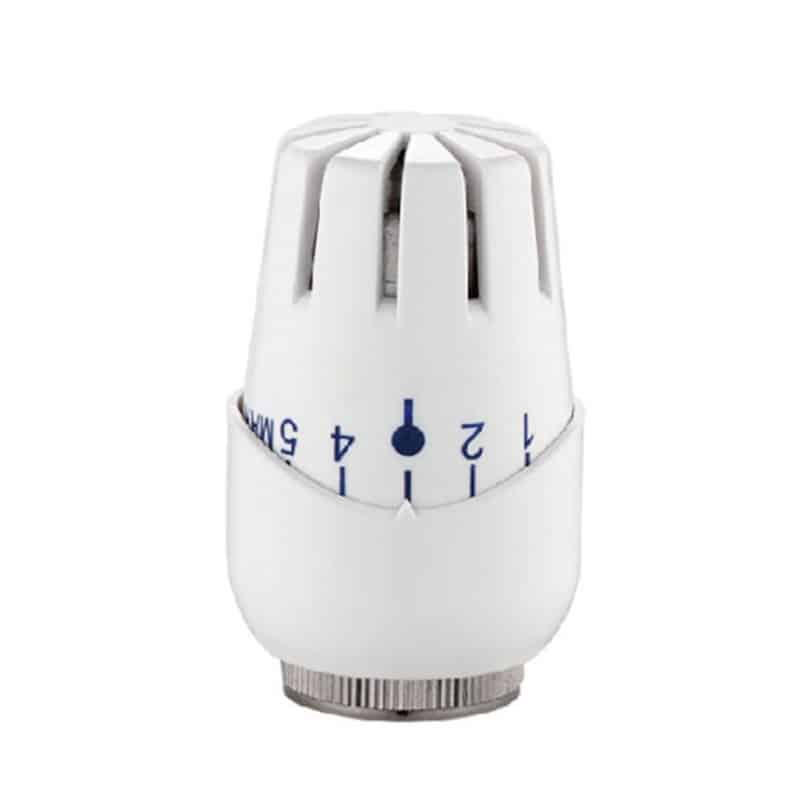
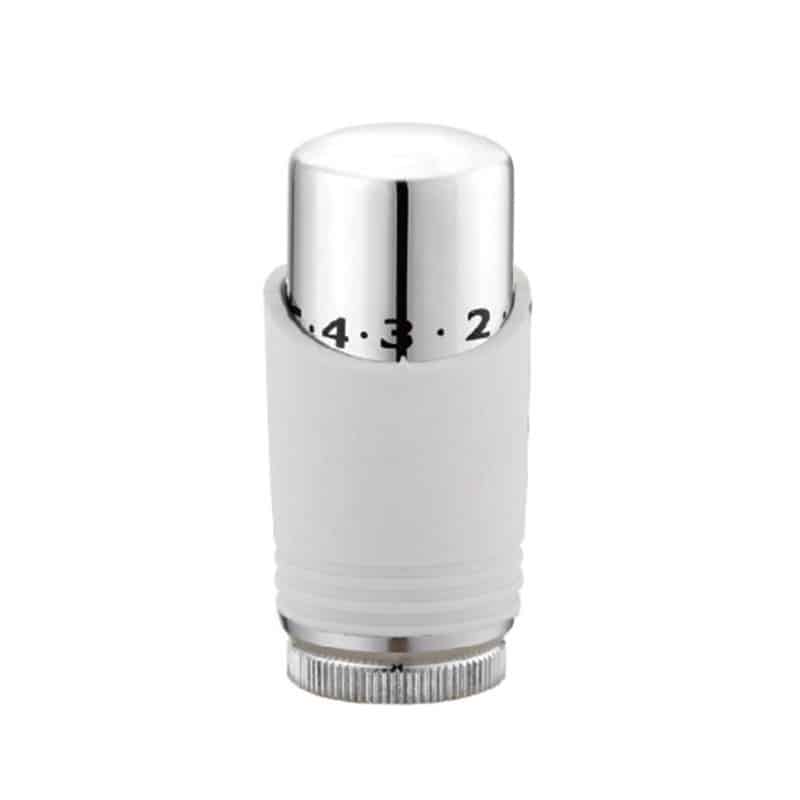
Size
Assembled with G1/2”*15mm&16mm Color
White /Chrome Working Medium
Hot/Cold Water Range of Temperature Adjustment
0 ~ 28℃ Range of Scale
0 ~ 5 Max Working Pressure
10 bar Max Pressure Difference
0.6bar Max Working Temperature
50℃ Max Medium Temperature
≤ 100℃ Influence of Pressure Difference
0.4K Influence of Temperature Difference
0.5K Test Standard
EN215
The TRV valve includes some wax or liquid that can ‘sense’ the temperature in the room; when your desired temperature has been reached, the valve will shut off the flow of hot water and stop the radiator from getting hotter. This means that the radiators can manage themselves most of the time.
Maintaining a stable room temperature is both comforting and energy-efficient. Fitting a Thermostatic Valve to a radiator allows variable temperature options and the flexibility to control the radiator’s performance.
Building Regulations Part L1 recommends radiator thermostats are fitted to all radiators (except rooms with a room thermostat) to satisfy either Minimum or Best Practice installations. The valve can be mounted vertically or horizontally at either end of a radiator. To work correctly, the valve must be installed in a two-pipe heating system with a free flow (not draughts) of air around the sensor head to ensure optimum performance. An automatic differential bypass valve must be fitted for a TRV installation.

A temperature valve is a device that measures and regulates the flow of fluid (typically water or gas) based on its temperature. A typical installation will consist of a pipe, valve, and sensor. The pipe carries the fluid from one location to another. The valve controls how fluid can enter this pipe by opening and closing it as needed. The sensor reads the current temperature of the liquid to activate the appropriate response from the valve – either allowing more or less coolant into your system depending on whether it needs cooling or heating, respectively.
Temperature valves come in various shapes and sizes, so ensure you get the right one for your needs. We recommend using a ball-type valve as it is easy to operate and can be closed quickly in an emergency.
Once you have selected the appropriate valve, installation is a breeze! Follow these simple steps:
Step One – Cut a hole in the pipe that will accommodate the sensor and valve body. Make sure that the hole is big enough to allow free movement of the sensor and valve.
Step Two – Thread the sensor into place on the inside of the pipe. Tighten it down securely with a wrench.
Step Three – Slip the valve body over the pipe’s end and tighten it with a wrench. Do not overtighten, or you can damage the threads.
Step Four – Connect your wires to wire the sensor and valve body. The wiring is straightforward. Just make sure that you connect “+” to “+,” “-“to “-,” etc.- see the manual for more details. Professional installation of a temperature valve requires specialized tools- contact us today!